
Looking to transform your space without breaking the bank? DIY faux beams might just be the magical touch your home needs. These stylish accents can add character and warmth to any room, making it feel like a cozy cabin or a chic loft. Plus, they’re so easy to create that even your cat could supervise the project without rolling its eyes!
What Are DIY Faux Beams?
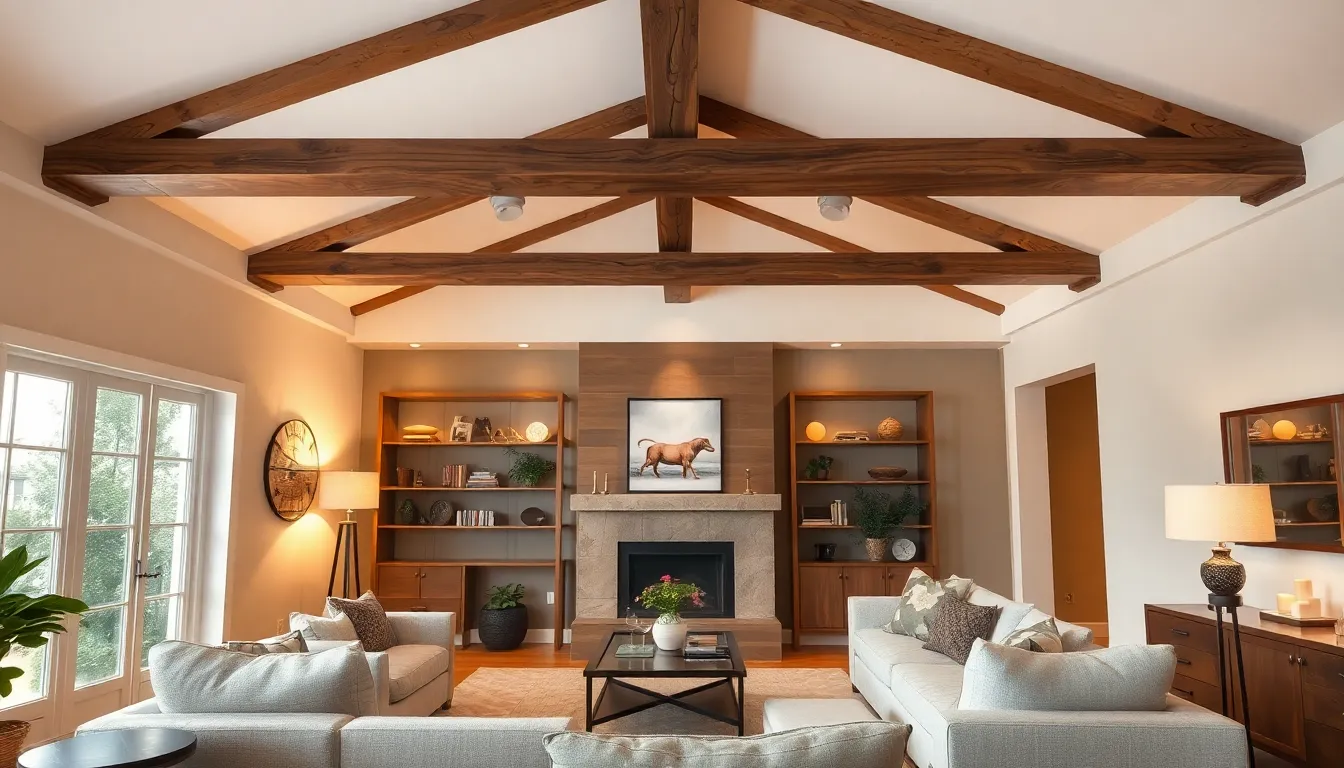
DIY faux beams serve as an affordable alternative to traditional wooden beams. These are typically made from materials like foam, PVC, or engineered wood, offering a lightweight option for home decor. Creating an inviting atmosphere is easy with faux beams, which can enhance the character of any room with minimal effort.
Homeowners often choose faux beams for their versatility. They come in various styles, finishes, and sizes, allowing customization to suit different design themes. Whether it’s a rustic farmhouse look or a modern aesthetic, faux beams fit seamlessly into diverse interior environments.
Incorporating these decorative elements into a space transforms its appearance. Installing faux beams adds architectural interest and can make ceilings feel higher. Some homeowners opt to paint or stain faux beams to match their existing decor, creating a cohesive look throughout the room.
A simple installation process appeals to many. Most DIY faux beam projects require basic tools and a little creativity. Installing these beams often involves securing them to the ceiling or wall with adhesive or brackets, making them an accessible option for beginners and experienced DIYers alike.
Cost-effectiveness also plays a significant role in their popularity. Compared to solid wood beams, faux alternatives typically carry a much lower price tag. Saving on materials doesn’t mean sacrificing style; these beams deliver an upscale appearance at a fraction of the cost.
Ultimately, DIY faux beams provide an aesthetically pleasing solution for homeowners looking to enhance their spaces without a significant financial investment.
Benefits of DIY Faux Beams
DIY faux beams offer numerous benefits, making them an appealing choice for homeowners. These enhancements add character and warmth to any room, effectively transforming spaces.
Aesthetic Appeal
Aesthetic appeal stands out as one of the primary advantages of DIY faux beams. They introduce a touch of architectural interest that can elevate the visual dynamics of a space. Whether aiming for a rustic charm or a modern twist, these beams provide versatile styling options. Different finishes and designs allow for seamless integration into various interiors. Many homeowners appreciate how faux beams can make ceilings appear higher, creating an illusion of spaciousness. Ultimately, they contribute to a cozy atmosphere that resonates with personal style.
Cost-Effectiveness
Cost-effectiveness makes DIY faux beams even more attractive. Traditional wooden beams often come with a high price tag, while faux alternatives deliver a similar upscale look at a fraction of the cost. Homeowners can select lightweight materials like foam, PVC, or engineered wood, which significantly reduces expenses. Installation remains simple and requires only basic tools, enabling budget-conscious individuals to undertake the project without professional help. By choosing faux beams, homeowners enjoy robust savings while achieving striking visual results.
Materials Needed for DIY Faux Beams
Creating faux beams requires specific materials and tools to ensure quality results. The selection of materials directly affects the final appearance and durability of the beams.
Types of Materials
Homeowners often choose foam, PVC, or engineered wood for their faux beams. Foam offers a lightweight and easy-to-install option. PVC provides durability and moisture resistance, making it ideal for areas with high humidity. Engineered wood delivers a more natural wood finish, offering aesthetic appeal at a lower cost. Many also consider paint or stain to customize the beams, allowing them to match existing decor styles.
Tools Required
Basic tools simplify the faux beam installation process. A miter saw cuts the beams to the desired lengths. Measuring tape ensures precise measurements, preventing any misalignment during installation. Wood glue secures the beams in place, while a level guarantees they hang straight. Hammer and finishing nails add stability to the structure. Finally, a drill may assist with hanging heavier beams if needed. With these tools, anyone can create beautiful faux beams.
Step-by-Step Guide to Creating DIY Faux Beams
Creating DIY faux beams involves several structured steps. This guide will clarify the essentials for measuring, building, and installing beams.
Measuring and Planning
Start by measuring the desired length of the faux beams. Accurate measurements ensure a perfect fit. Use a pencil to mark measurements on a piece of paper or directly onto the ceiling for visual reference. Consider using a level to assist in aligning marks straight. Planning includes selecting the locations for the beams to complement the room’s architecture. Evaluate the space, noting how many beams will enhance the area. Sketching a simple diagram may help visualize placement.
Building the Beams
Building faux beams begins by cutting the chosen material to the required lengths. Use a miter saw for clean, precise cuts. Ensure the cuts fit together snugly by measuring twice before cutting once. Assemble the beams using wood glue and finishing nails for strength. Consider adding a layer of paint or stain to match the room’s decor. Once assembled, let the glue dry completely before moving on to the next step. This ensures structural integrity for lasting results.
Installing the Beams
Installing the beams involves elevating each beam to the ceiling with help from a partner. Use a level to confirm that each beam is straight before securing them in place. Position finishing nails through the beams into the ceiling joists for a sturdy attachment. If using heavier materials, consider additional supports as needed. After installation, check all beams for alignment and adjust if necessary. Finally, touch up any paint or stain on the seams for a polished finish.
Maintenance and Care for Faux Beams
Caring for faux beams ensures their longevity and aesthetic appeal. Regularly dusting the beams helps maintain their appearance. Use a microfiber cloth or a soft duster to remove dust particles without scratching the surface.
Cleaning faux beams requires a gentle approach. A mixture of mild soap and warm water can effectively clean surfaces. Avoid abrasive cleaners that might damage the finish. After washing, a damp cloth removes any soap residue.
Inspecting faux beams periodically for damage is crucial. Look for signs of wear, such as peeling paint or cracks. Addressing any issues quickly prevents further deterioration.
Humidity can affect certain materials. For instance, PVC is moisture-resistant, while foam may warp in high humidity. Consider using a dehumidifier in areas prone to moisture to protect beams.
When it comes to repaints or refinishes, choose suitable materials. High-quality paint designed for faux finishes will provide durability and a fresh look. Lightly sanding the surface before repainting enhances adhesion.
Finally, avoid using heavy objects around faux beams. While they are sturdy, excessive weight can lead to structural issues. Keep decorating light to maintain both aesthetic appeal and integrity.
Taking these steps keeps faux beams looking great and enhances the room’s overall atmosphere.
DIY faux beams offer an excellent way to elevate home decor without breaking the bank. Their versatility and ease of installation make them an appealing choice for homeowners looking to add character and warmth to any space.
With a variety of materials and styles available, these beams can seamlessly fit into different design themes. By following simple care tips, homeowners can ensure their faux beams maintain their beauty and charm for years to come.
Embracing this DIY project not only enhances the aesthetic appeal of a home but also allows for personal expression in design.