Looking to add a splash of creativity to your walls? A DIY cork board might just be the answer. Not only does it provide a practical space for notes and reminders, but it also transforms into a canvas for your artistic flair. Imagine pinning up your favorite photos, quirky postcards, and even those grocery lists that seem to multiply overnight.
What Is a DIY Cork Board?
A DIY cork board is a readily customizable tool for organization and creativity. Its construction primarily involves cork material, easily sourced from various retailers or recycled from old products. With this board, individuals can gather important notes, reminders, and visual inspirations in one accessible location.
Crafting a DIY cork board offers flexibility in design. Users can choose background colors, shapes, and sizes that best fit their space. For instance, a larger board could cover significant wall areas, while smaller versions might enhance cozy nooks.
Safety pins, tacks and adhesives serve as common methods for attaching items to the cork surface. Such versatility allows for quick updates and changes, keeping the workspace fresh and engaging. Popular uses often include displaying essential schedules, motivational quotes and cherished photographs.
A DIY cork board enhances both functionality and aesthetics in a home or office. Its presence can inspire creative thinking and keep critical information in view. This project encourages personalization, making it an enjoyable way to express individual style and preferences.
Constructing the board with simple tools makes it an accessible project for various skill levels. Beginners can easily create a basic design, while experienced individuals may opt for intricate layouts and decorative elements. The process remains enjoyable, whether undertaken solo or as a group activity.
Overall, a DIY cork board combines practicality with personal expression, proving to be both a useful and artistic addition to any space.
Benefits of a DIY Cork Board
A DIY cork board offers numerous advantages beyond decoration. It enhances organization and personal expression.
Customization Options
DIY cork boards provide endless customization options. Users can select colors, shapes, and sizes to fit their specific spaces. Personalization extends to the type of frame and embellishments, allowing individuals to reflect their styles. Adding patterns or artwork can transform a simple board into a unique focal point. Various materials, such as fabric or paint, can easily facilitate creative designs. Individuals can even include additional features, like compartments or shelves, enhancing functionality.
Cost-Effectiveness
Creating a DIY cork board proves to be cost-effective. Typical cork board prices can range from $20 to $100, while a handmade version often costs significantly less. Basic supplies like cork sheets, a frame, and adhesive can total around $30, saving money without sacrificing quality. Working on a personalized project often leads to using repurposed or leftover materials, reducing expenses further. This affordability allows individuals to create multiple boards for different rooms or purposes with minimal investment.
Materials Needed for Your DIY Cork Board
Creating a DIY cork board involves gathering a few essential materials for an effective project.
Cork Board Sheets
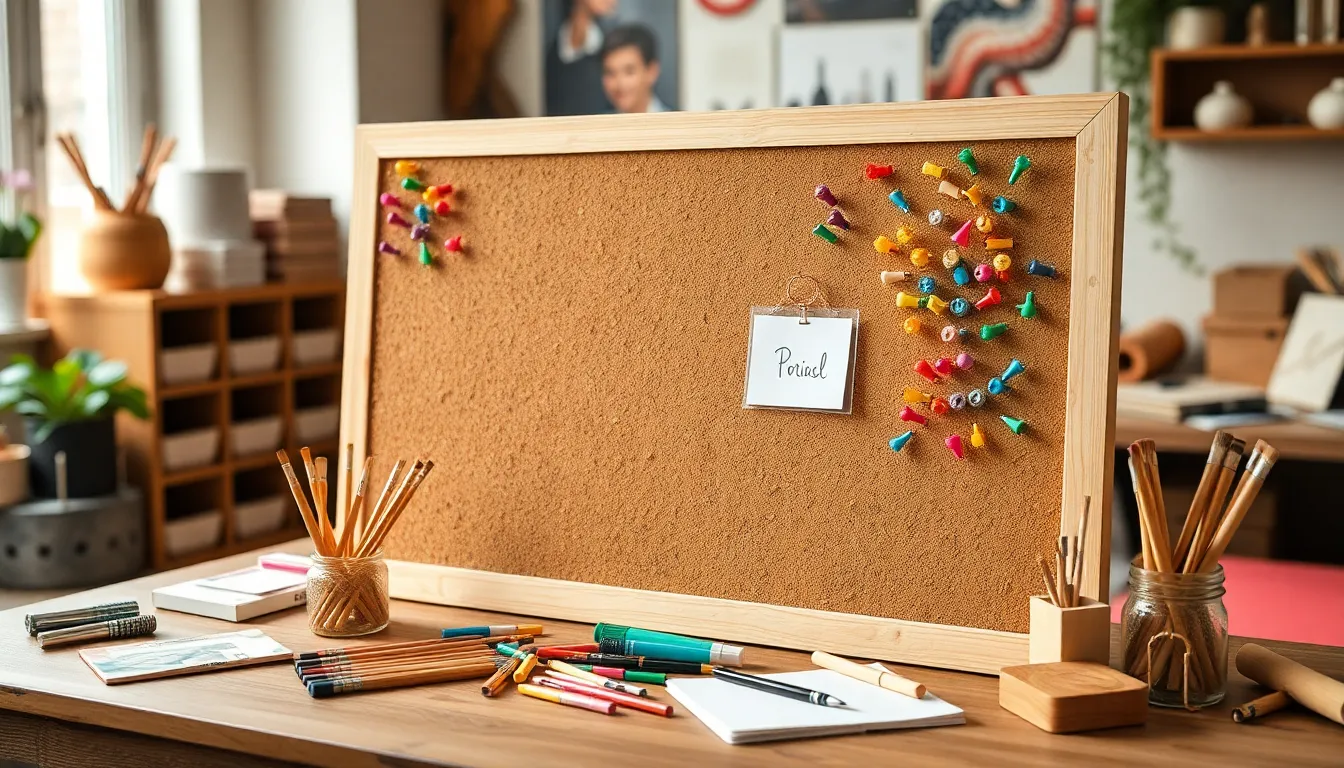
Cork board sheets serve as the foundation for the project. These sheets typically come in various sizes, often ranging from 1/4 inch to 1/2 inch thick. Available in craft stores or online, they can also be sourced from recycled cork. Purchasing sheets with adhesive backing simplifies the mounting process, eliminating the need for extra glue. Consider opting for natural cork for a classic look or choosing colored options for added personalization. Different textures can enhance visual appeal, offering versatility in design.
Tools and Supplies
Several tools and supplies enhance the cork board building experience. Begin with a utility knife or scissors for precise cutting. A straight edge ruler ensures clean, even cuts. Use a cutting mat to protect surfaces. Gather thumbtacks, pins, or adhesive dots for attaching items to the board. Additionally, a staple gun or glue ensures strong adhesion between cork sheets and the backing material. Decorative elements like paint or washi tape can further customize the board, making it uniquely yours. Collecting these items streamlines the project process, leading to a successful creation.
Step-by-Step Guide to Creating a DIY Cork Board
Creating a DIY cork board involves a straightforward process that anyone can follow. Each step contributes to a functional and personalized piece.
Preparing the Base
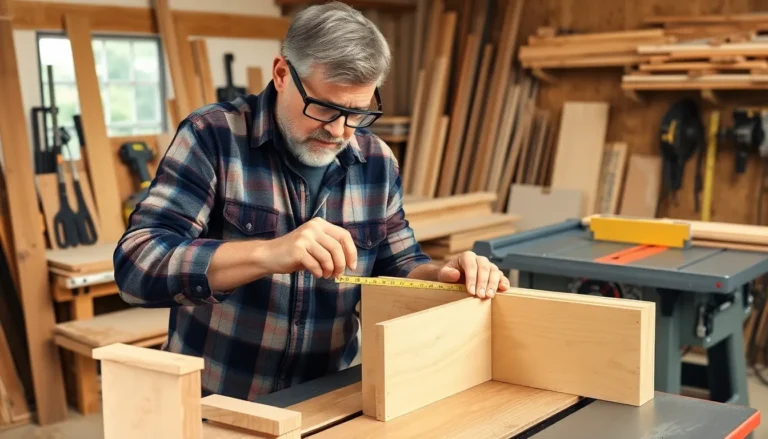
Selecting the right base is crucial for a successful cork board project. Use a sturdy backing like plywood or an old frame to ensure durability. Cut the base to the desired size, maintaining a neat edge for a polished look. Since different sizes fit various spaces, consider where the board will be displayed. Using adhesive spray or glue simplifies the attachment process, providing a secure foundation. Paint or decorate the base if desired, enhancing the visual appeal.
Adding Cork Sheets
Cork sheets serve as the primary component of the board. Choose sheets with an adhesive backing for convenience, allowing easy application. Cut the cork sheets to fit the base, ensuring full coverage without overlaps. Align the sheets carefully, pressing down firmly to eliminate air pockets. Extra layers can increase pin-holding capacity, especially if heavier items will be displayed. Ultimately, the choice of natural or colored cork influences the board’s aesthetic and functionality.
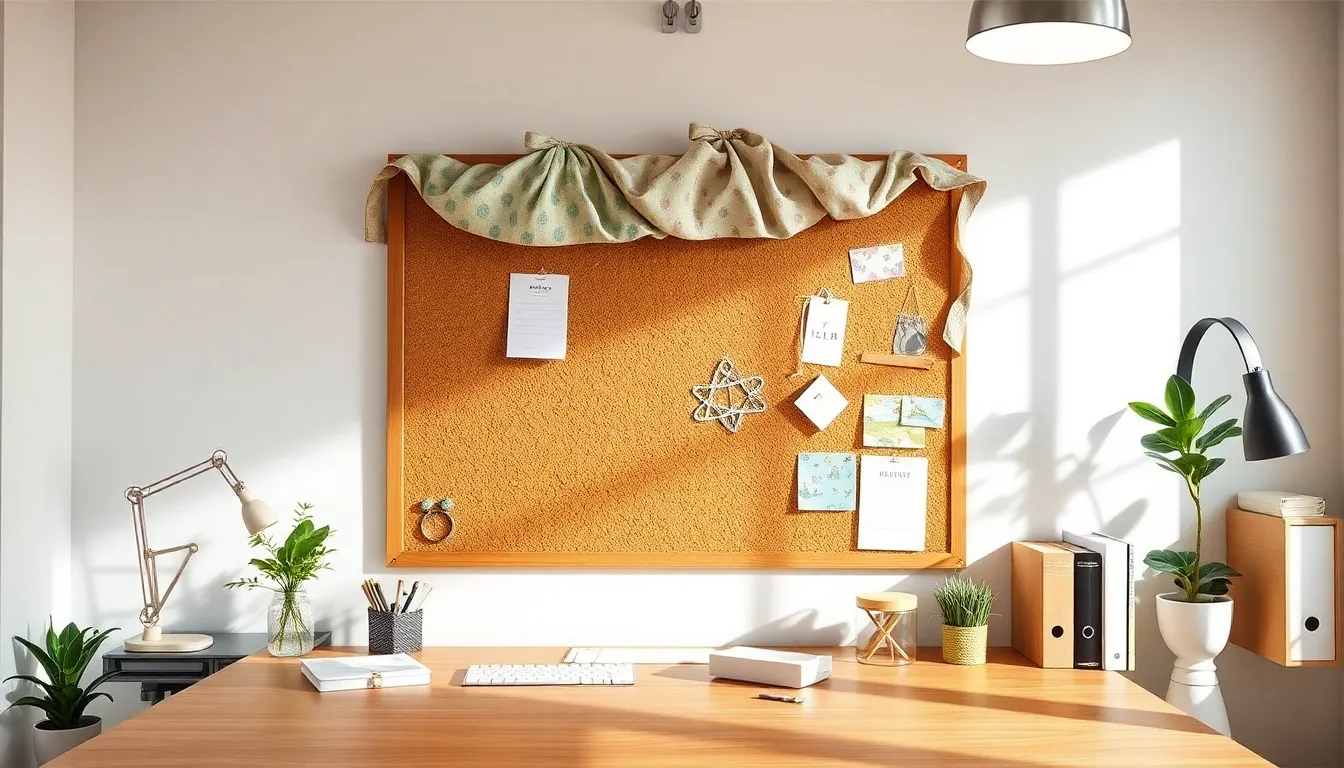
Finishing Touches
Adding decorative elements finalizes the cork board’s design. Incorporate trims like washi tape or paint to accentuate edges. Include thumbtacks, pins, or clips in colors that match the theme, providing a cohesive look. Personalize the board further by attaching photos, notes, or artwork, reflecting individual style. Ensure that the board is securely mounted to the wall, using proper hardware for stability. Attention to these details creates an inviting and practical display area.
Creative Ideas for Using Your DIY Cork Board
A DIY cork board offers numerous creative possibilities to enhance both organization and decoration in any space.
Organization Tips
Using a cork board for organization fosters productivity. Pin important reminders and deadlines to keep tasks front and center. Arrange notes by categories, such as work, personal, or projects, ensuring easy access to vital information. Create a color-coding system by using different thumbtacks or sticky notes to visually differentiate categories. Incorporate a designated space for urgent items to prioritize tasks effectively. Utilize small containers or clips attached to the board for holding pens or small supplies. With these simple strategies, a cork board transforms into a functional and stylish organizational tool.
Decorative Inspirations
Decorating a cork board allows for personal expression and creativity. Start by choosing a color scheme that complements the surrounding decor. Add frames or washi tape around the edges to create a polished look. Include photographs, postcards, and mementos that resonate personally. Layer different textures by mixing fabric swatches or paper cutouts for visual interest. Incorporating seasonal items can keep the board fresh and engaging. Utilize inspirational quotes or artwork for an uplifting atmosphere. Each decorative choice contributes to a unique display that showcases individual style and adds character to any room.