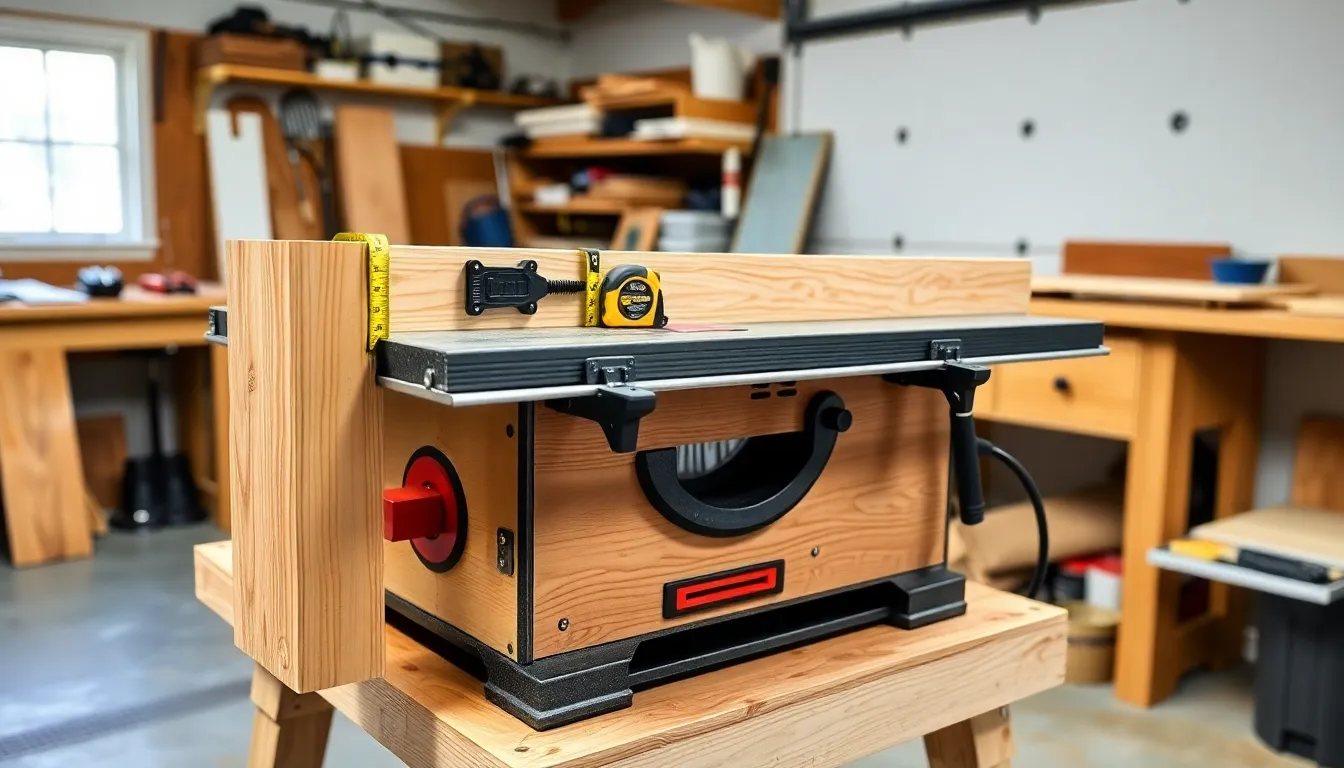
Every woodworker knows that a precise cut can make or break a project. Yet, many struggle with flimsy table saw fences that seem to have a mind of their own. Why let your saw run wild when you can tame it with a DIY table saw fence? It’s time to unleash your inner craftsman and take control of your workspace.
Table of Contents
ToggleUnderstanding DIY Table Saw Fences
Creating a precise cut is essential in woodworking. A reliable table saw fence plays a crucial role in achieving that accuracy.
Importance of a Good Fence
A good fence ensures straight cuts, which saves time and material. Accurate measurements enhance the quality of woodworking projects. Consistency in cuts becomes achievable, resulting in better-fitting pieces. Safety also increases with a sturdy fence, as it minimizes the risk of kickback. A poorly functioning fence can lead to frustration and wasted resources. Investing time in a solid DIY table saw fence elevates the overall craftsmanship.
Types of Table Saw Fences
Several types of table saw fences are available for different needs. A standard rip fence provides basic functionality for general cuts. Micro-adjustable fences offer fine-tuning for precision tasks. Unihandled fences simplify adjustability for quick setups. T-slotted fences accommodate various accessories and jigs. Each type serves specific purposes, accommodating diverse woodworking styles. Choosing the right type depends on the user’s preferences and requirements.
Materials Needed for a DIY Table Saw Fence

Gathering the right materials is essential for creating an effective DIY table saw fence. Below are the key components necessary for this project.
Lumber and Plywood
Select sturdy lumber or plywood for the fence. Common choices include 1×4 or 1×6 boards, which offer strength and stability. Plywood with a thickness of ¾ inch ensures durability and resistance to warping. The length of the lumber should extend beyond the width of the table saw for adequate alignment. Consider using hardwood for a more solid construction. Having straight and flat surfaces enables precise cuts during use.
Hardware and Fasteners
Use quality hardware and fasteners to secure the fence effectively. Bolts, washers, and T-nuts provide strong attachments, ensuring the fence remains stable during operation. Incorporate a slide system using adjustable clamps for easy repositioning. Additionally, having a measuring tape and square aids in the precise alignment of the fence. Keep screws, nuts, and drilling tools readily available for assembly, facilitating a smoother process. Choosing durable hardware enhances overall functionality and longevity.
Steps to Build a DIY Table Saw Fence
Creating a DIY table saw fence involves careful measurement and construction. These steps ensure a reliable and accurate fence for improved woodworking.
Measuring and Cutting Components
Start by measuring the width of the table saw tabletop. Use sturdy lumber or plywood, such as 1×4 or 1×6 boards, to construct the fence. Cut two identical pieces for the fence’s sides, ensuring they extend slightly beyond the table saw width. Next, mark and cut the top piece, which serves as the actual fence surface. Ensure a clean edge on all cuts for accuracy. Utilize a square to verify the right angles during measurement. Check that all components fit together correctly so alignment remains true during assembly.
Assembling the Fence
Begin the assembly with the side pieces. Use durable wood glue along the edges before positioning the top piece. Drill pilot holes to prevent splitting, securing the components with bolts and washers. Make certain to space the fasteners evenly for strength. Add adjustable clamps on one side to facilitate easy repositioning of the fence. Test the fence on the table saw to guarantee a snug fit. Adjust as necessary to ensure smooth operation and precise cutting performance. By completing this assembly, a solid and functional table saw fence takes shape, ready for use in various woodworking projects.
Adjusting and Calibrating Your Fence
Adjusting and calibrating a DIY table saw fence ensures cutting precision. A well-aligned fence enhances both safety and accuracy in woodworking projects.
Ensuring Accuracy
To begin, check the alignment of the fence with the blade. Verify that the distance from the blade to the fence remains consistent across the entire length. Using a ruler or caliper facilitates this accuracy check. Adjust the fence if misalignments appear. A straight edge can serve as a reference point, ensuring the fence doesn’t deviate from its intended path. It’s important to secure the fence tightly after adjustment to prevent movement during cutting operations. Finally, regular checks after extensive use maintain consistent accuracy.
Making Fine Adjustments
Making fine adjustments enhances overall performance. Start with small modifications to the fence to achieve the desired measurement. Incremental changes prevent drastic shifts that may throw off alignment. Utilize adjustable clamps for straightforward repositioning. Using a feeler gauge helps identify minimal gaps between the blade and fence. Fine-tuning is an ongoing process; as wood thickness varies, adjustments may frequently be necessary. Maintaining clarity in measurements ensures the highest level of precision during cuts.
Building a DIY table saw fence is a rewarding project that significantly enhances woodworking precision. With the right materials and careful assembly, anyone can create a reliable fence that improves cutting accuracy and safety. The process of measuring and calibrating ensures that the fence performs optimally, adapting to various projects with ease. By investing time in this DIY task, woodworkers not only elevate their skills but also gain confidence in their craft. A well-constructed table saw fence is an essential tool that can transform any workspace into a hub of creativity and craftsmanship.


